Here, you will find a range of instructional ideas that can help students bring their models to life and revise their thinking in collaboration with others over the course of a unit.
Step 1
Engage students in structured share-outs. The purpose of a structured share-out is to help students learn from one another and develop a classroom community that shares and revises scientific ideas respectfully. Why is it important to engage in structured share-outs?
- For Students: In many classrooms, only examples perceived as “right” or the “the best” are shared with the whole class. This practice helps to strategically select representations that could lead to productive conversations about science so students can learn from and with each other.
- For Science: Scientific knowledge is tentative and is developed through sharing and revising theories over time.
- For Equity: Mindful selection of student work to be shared can counter inequitable narratives of “who is smart” in your classroom.
Below is a process for eliciting students’ ideas with models and supporting students in sharing their ideas with classmates as more than “show and tell.”
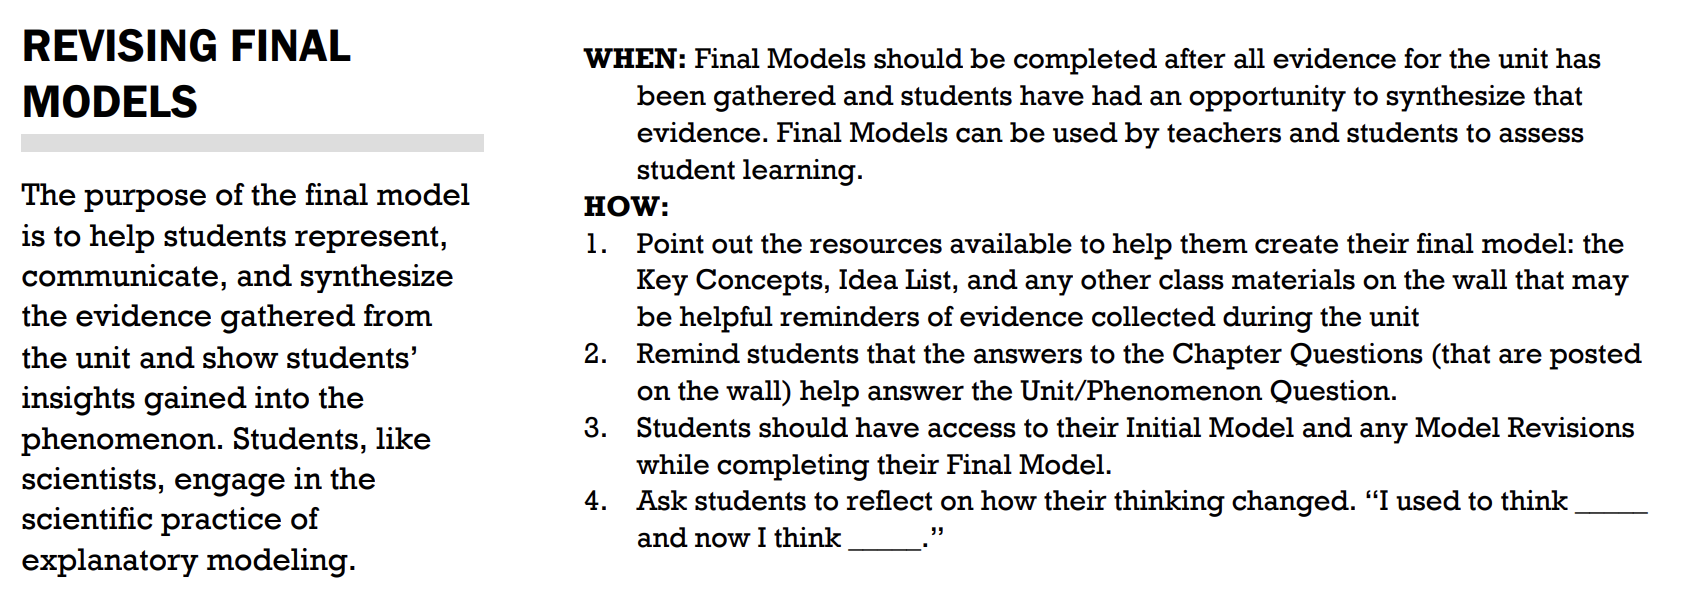
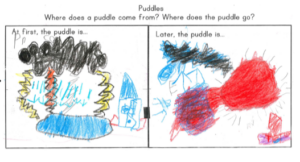
WHEN: Initial models should be created by students after they are introduced to the phenomenon that drives the storyline of the unit and before any evidence is gathered.
HOW:
1. Students should be encouraged to ask questions and discuss ideas about the phenomenon with one another. Encourage students to build on their lived experiences (“this reminds me of…”).
2. Remind students that at this point there is no wrong answers.
3. As you walk around the room, listen for all possible answers: What might it be? What questions do you have that would help you figure out the answer?
4. As you are listening, make a plan for sharing out. Select a few students to share their Initial Models with the class. Select student models based on:
a.) Content – Select models to highlight various ideas
b.) Features – How are students representing different ideas (arrows, color, size, etc.)
c.) Social Aspects – Which students profit from attention to their ideas?
5. Talk to students you selected, identifying content and features you would like them to share
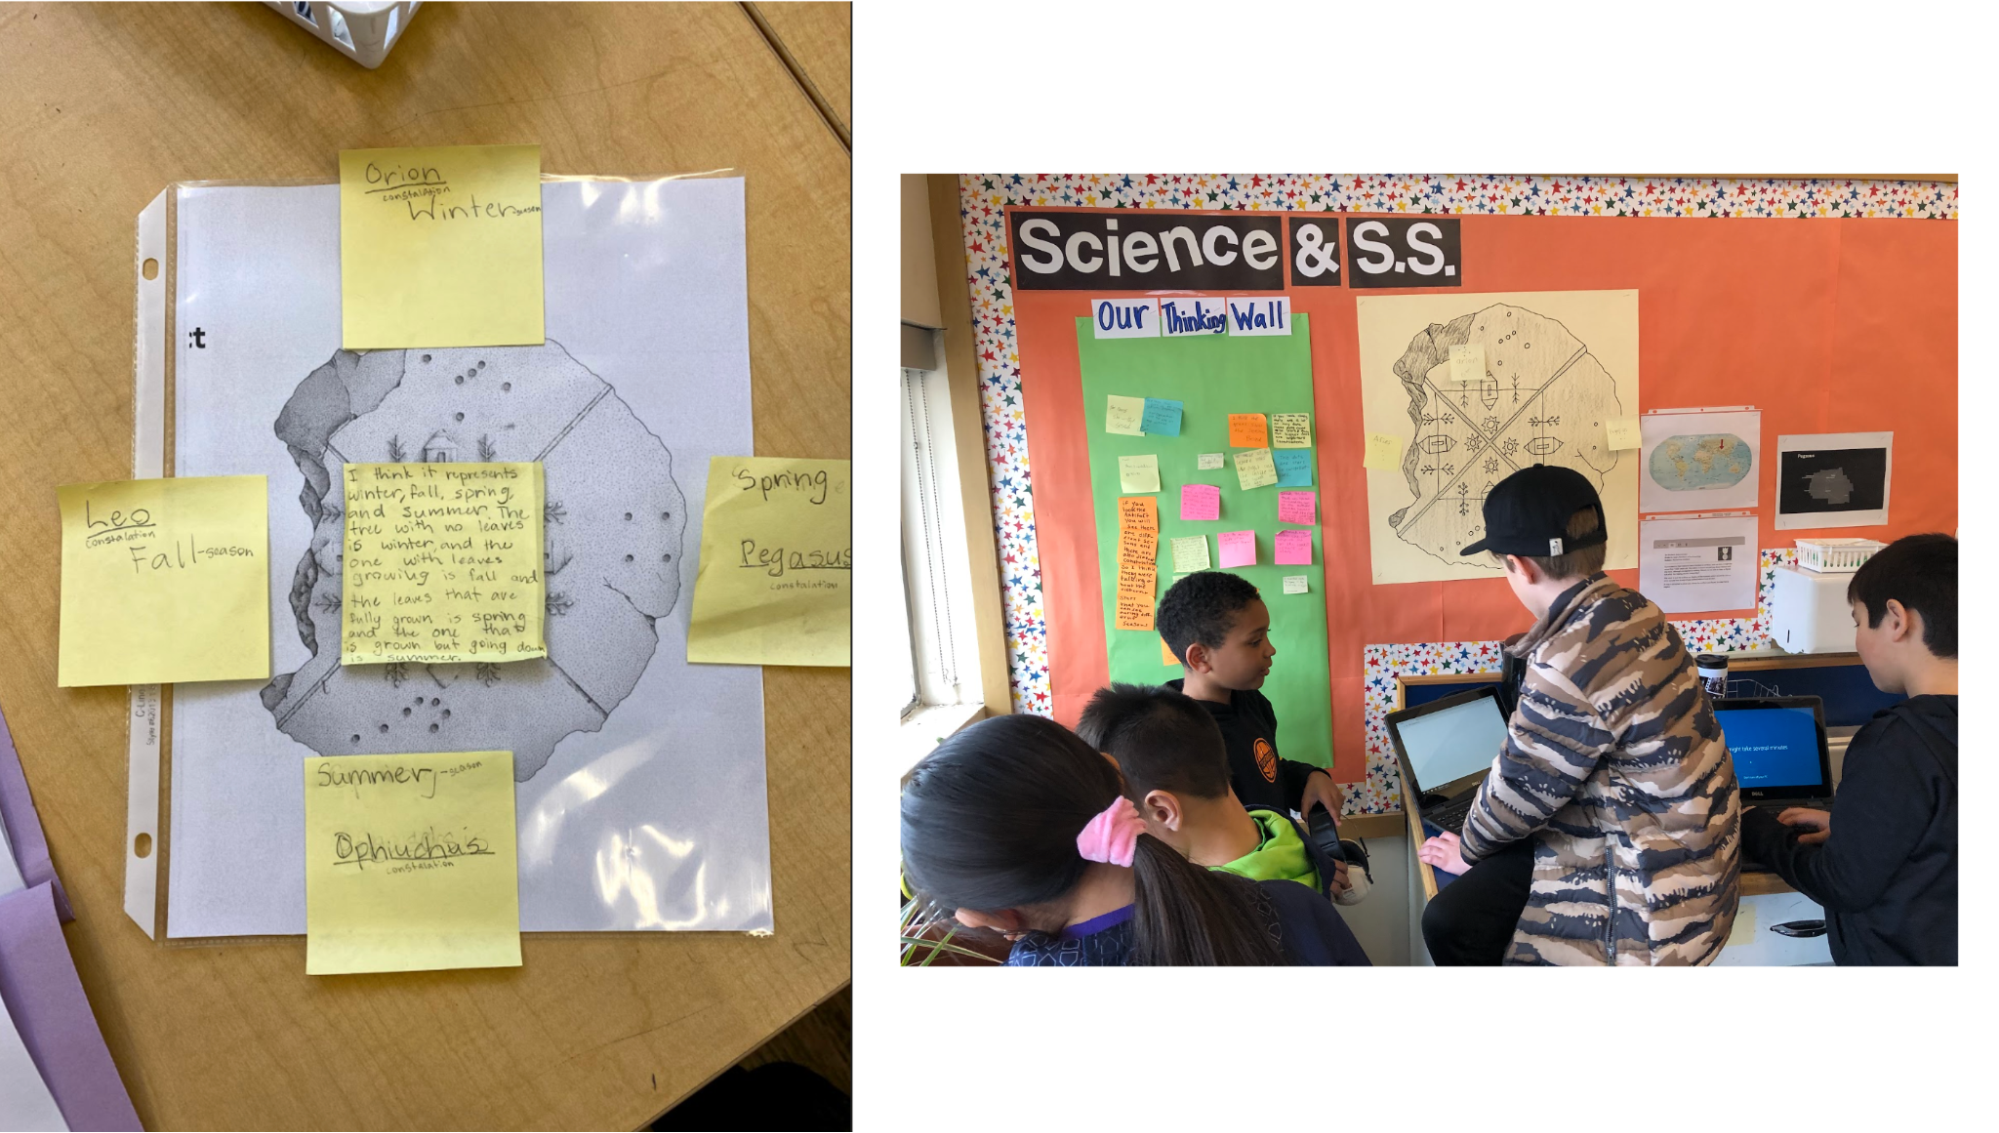
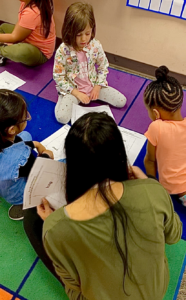
6. Invite one student at a time to share their model under the document camera. As students share parts of their models, invite the class to share how their ideas are similar or different. Consider using the Discussion Stoplight.
7. With your students create an Idea/Question List or a consensus model on chart paper or the board: What are our ideas? What else could it be? Who has a different idea than what we have already heard?
8. Try to capture all ideas on your list. Don’t use student names.
9. As you go through the unit, come back to these questions and ideas to identify those we have figured out with evidence, add vocabulary, and refine ideas.
Step 2
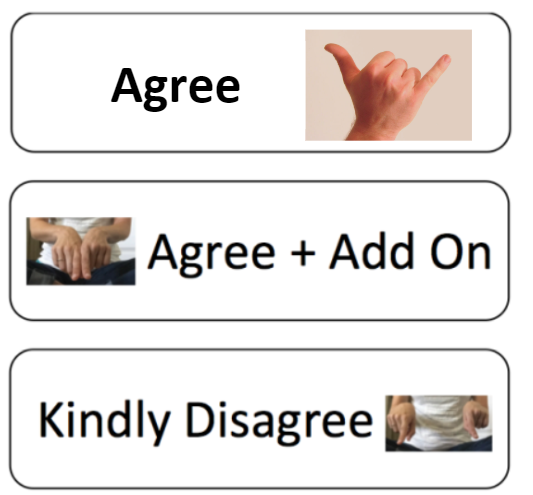
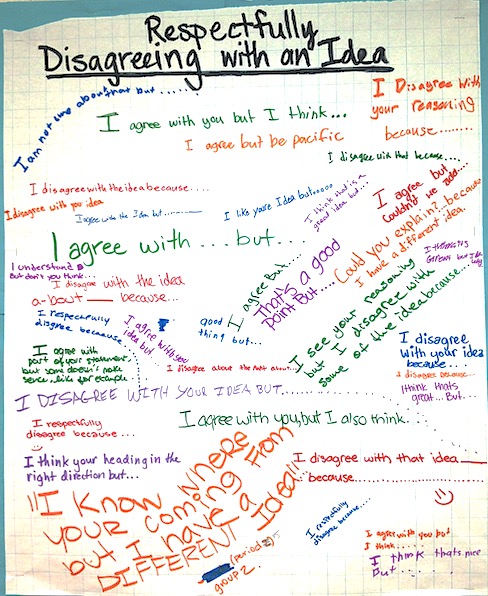
Teach students to agree and disagree. Kindergarteners through high school students benefit from explicit conversations about how to add to others’ ideas and how to disagree with ideas (not people) respectfully. In elementary classrooms, students often learn American Sign Language for agreeing, adding on, and disagreeing (see this video with structured share outs). In middle and high school, teachers might co-construct sentence starters with students.
Teachers have also used agree/disagree T-charts when examining how evidence might support different models of a phenomenon in elementary classrooms (See this NSTA article).
Step 3
Create a “Modeling Toolbox” anchor chart with students. As students identify different features in models that represent and communicate ideas, collect and house them on an ongoing “Modeling Toolbox” anchor chart. This chart reminds students of moves they can make as they model. Here are two “Modeling Toolbox” anchor chart examples:
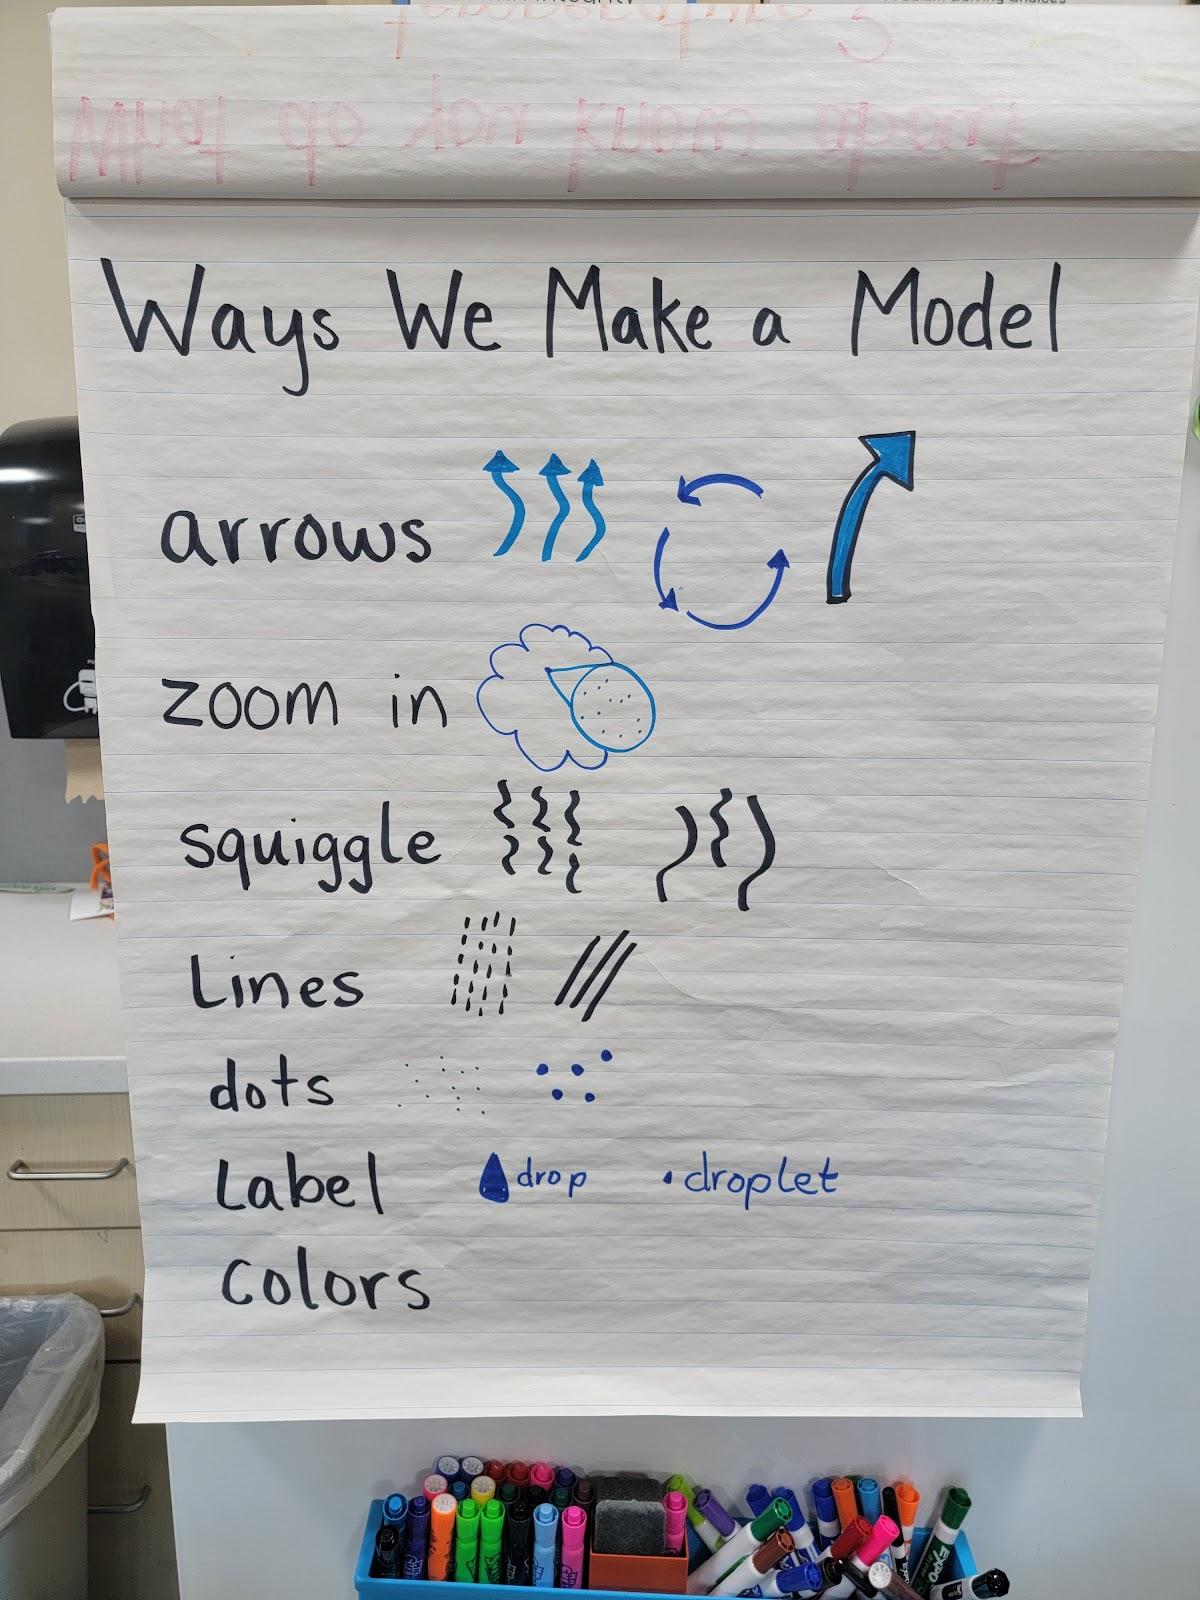 LEFT Teacher: Alisa Vinson-Ames, Kindergarten |
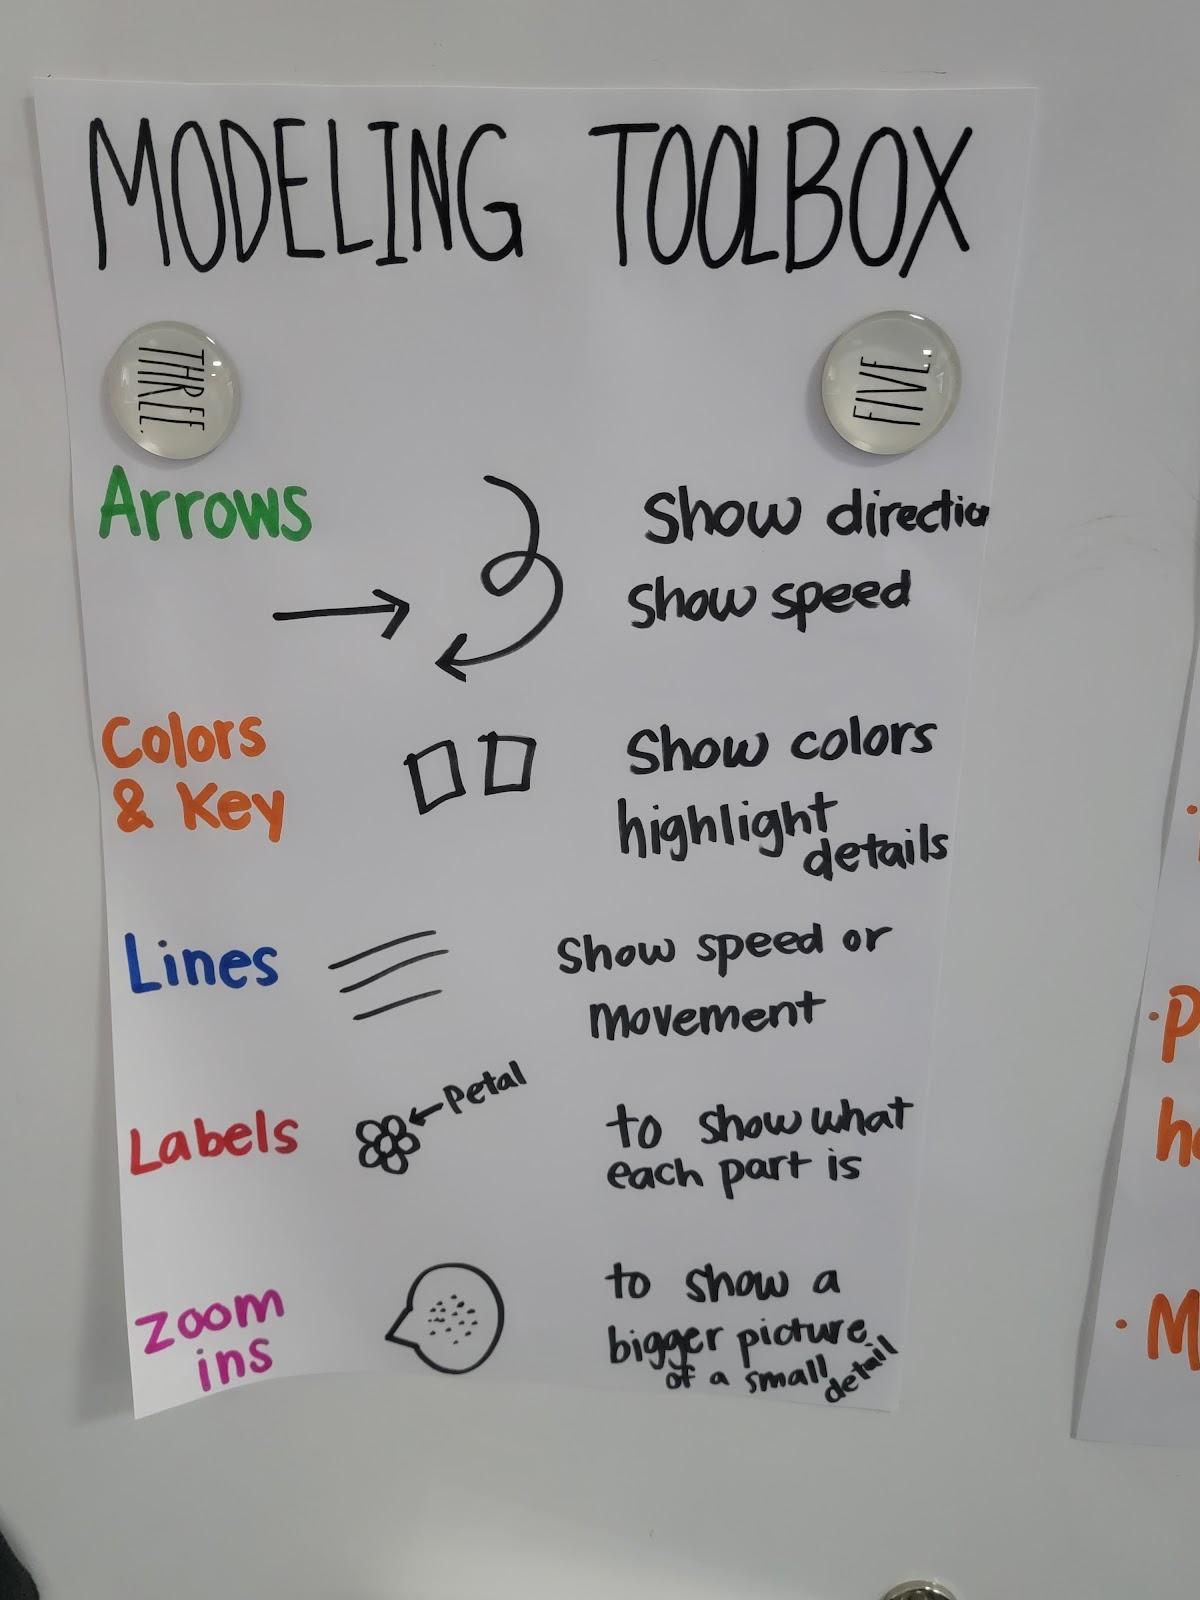 RIGHT Teacher: Khristian Palmer, 2nd Grade |
Step 4
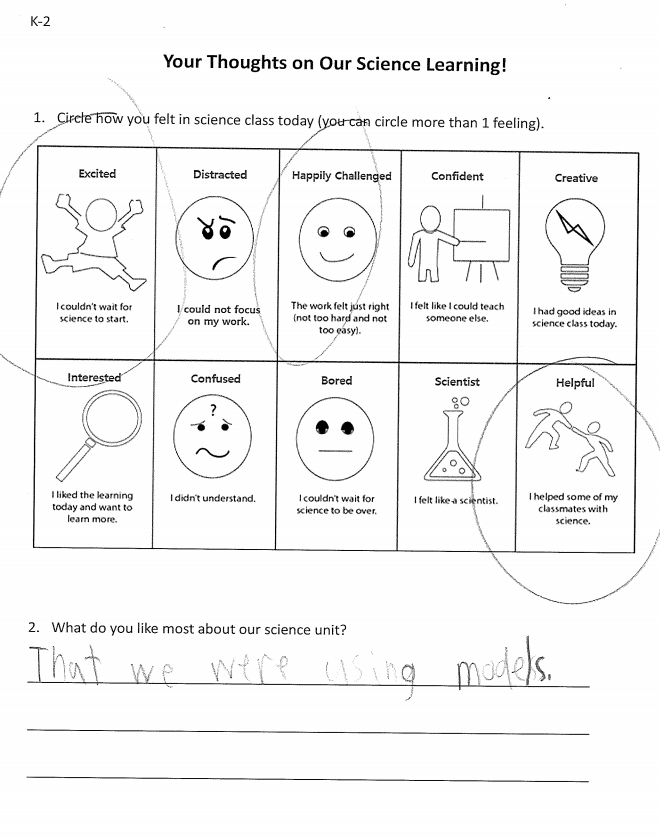
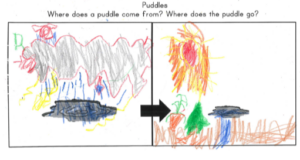
Ask students to share their learning about modeling. Here is an example from 1st grade that also attends to the social and emotional dimensions of learning. You can also ask students to describe why they engage in modeling.
Step 5
Invite students to reflect on how their thinking has changed when revising final models.
Step 6
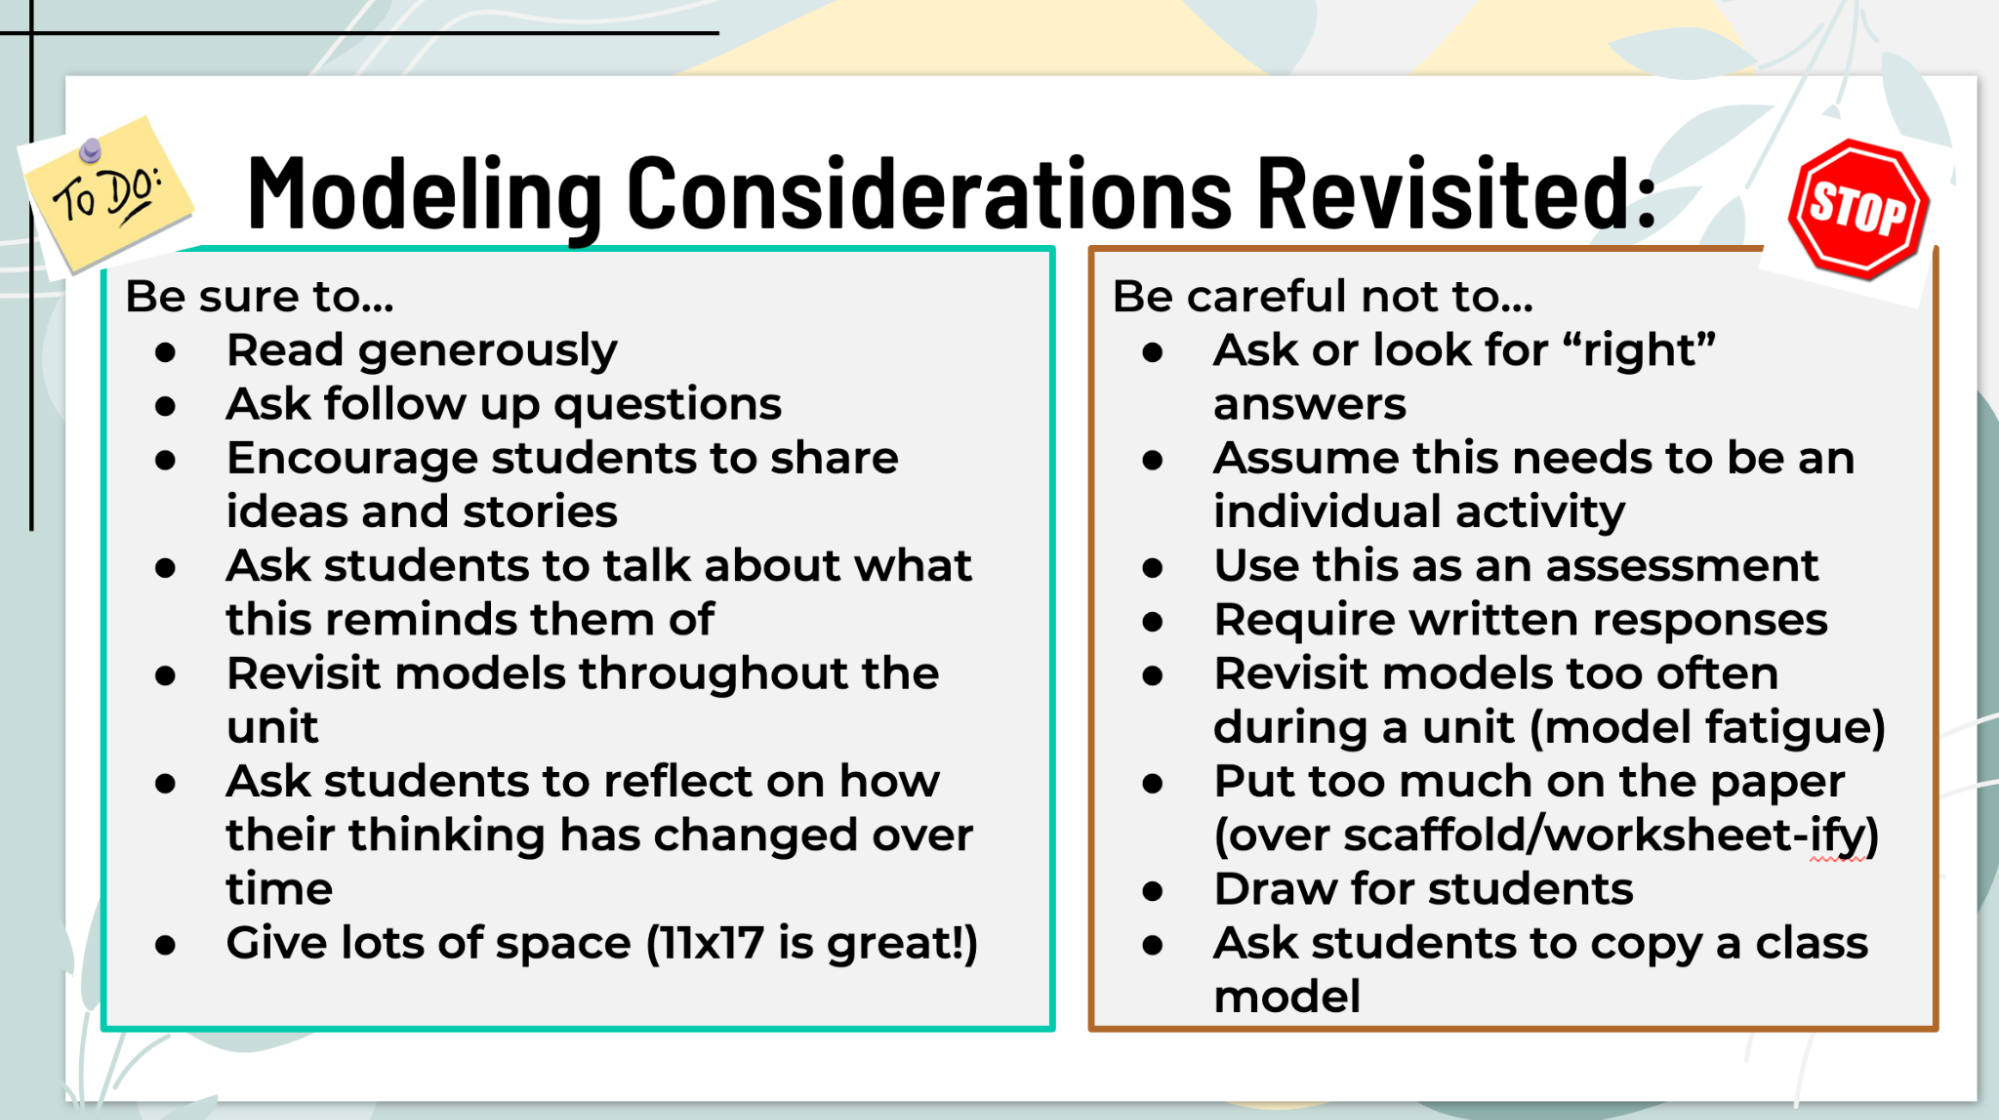
Treat students’ models as sensemaking spaces. Students can create and revise models collaboratively through multiple modalities (drawing, writing, etc.), and use models to spark and document connections. Below are some additional considerations for modeling with students.


 This site is primarily funded by the National Science Foundation (NSF) through Award #1907471 and #1315995